
What is Burp Suite ?
- Burp suite is one of the most popular security testing tool.
- Burp suite can be used in order to intercept HTTP requests which are going out through web browser.
- Burp suite falls into the category of proxy servers which means that it sits between the user’s browser and the web server that allows to observe and manipulate all the web traffic that’s being sent back and forward when a particular web application is used.
Why to use Burp suite?
- To make the app/web more reliable and secure.
- By using this we can check the vulnerability of any websites or applications.
There are three versions to Burpsuite :
- Burp Suite Community– Free for everyone’s usage. Has limited features but sufficient for basic Pentesting.
- Burp Suite Professional– It is a Paid Version and very useful for VAPT (Vulnerability Assessment & Penetration Testing) & Bug Bounty. You can check out all the features here:- https://portswigger.net/burp/pro/features.
- Burp Suite Enterprise– Unlike the community and professional versions, Burp Enterprise is used for continuous scanning. It provides an automated scanner that can periodically scan web application for vulnerabilities.
Burp Suite Installation
- Burp Suite comes pre-packaged with Kali Linux, so you should not need to install it there. If, for some reason, Burp is missing from your Kali installation, you can easily install it from the Kali apt repositories.
- For other Operating Systems (Windows or Mac), you can download installers from the Burp Suite Downloads page.
How to Install Burp Suite in Windows?
- Install Burp Suite
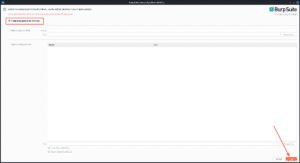
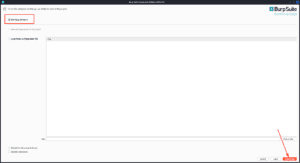
- After running the installer, select “new temporary project”, followed by “use burp defaults”.
3. Click on Start Burp.
Now, that we have Burp Suite installed, lets talk about some features of the Community ( Free ) version.
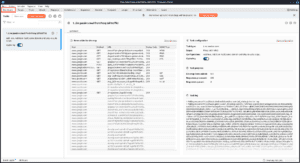
Dashboard :
The first tab that should be open is the Dashboard tab, but keep in mind that you can drag these tabs around so the order of your tabs may not match mine. I recommend putting them in an order that fits your workflow.
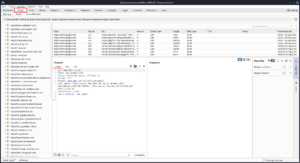
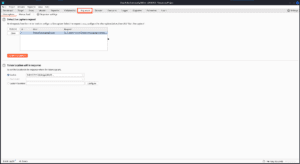
Target :
The Target tag allows you to view the site map of the target site, as well as what requests you’ve made and what findings you have found for each endpoint.
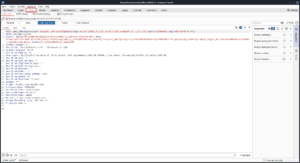
Proxy :
Burp Suite Proxy is a tool that lets you see and change the traffic between your browser and the website you’re testing. You can also use it to test HTTPS websites.
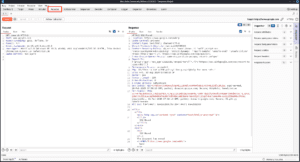
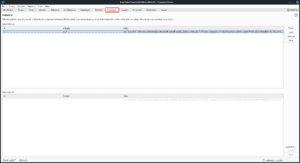
Repeater :
Burp Suite Repeater lets us grab a request, change it however we want, and send it again and again. This can be super useful, especially when we have to guess a payload by trying different things (like in SQLi) or when we want to see if an endpoint has any bugs.
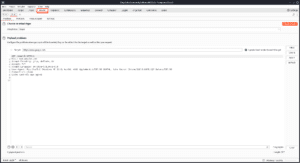
Intruder :
Burp Suite Intruder is a tool that lets us spam an endpoint with requests. We can use it to bruteforce passwords or to fuzz endpoints. One downside to it is, it is highly rate limited in Burp Suite Community version.
Decoder :
Burp Suite Decoder is a tool that helps us change data in different ways. We can use it to decode what we captured, or to encode a payload before we send it to the website. It’s not as popular as the other tools, but it can be very handy.
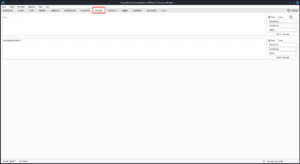
Comparer :
Burp Suite Comparer is a tool that lets us see the difference between two pieces of data. We can compare them by words or by bytes.
Sequencer :
Burp Suite Sequencer is used when assessing the randomness or entropy of tokens such as session cookie values or other supposedly random generated data. If the algorithm is not generating secure random values, then this could open up some devastating avenues for attack.
In our next blog, we’ll delve deeper into the individual components of BurpSuite, exploring their functionalities and how to use them effectively.
We’ll also discuss advanced techniques and best practices for leveraging BurpSuite to conduct thorough security assessments.
Thank you for reading, and as always, happy testing!