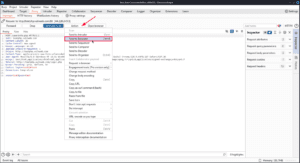
By right-clicking on a request and selecting Send to Repeater or doing so with the Action button in the proxy interception section, you can send requests to the repeater which allows you to modify and resend requests easily.
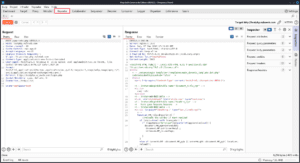
On the left, you have the request, and if you click Send you will see the response in the middle.
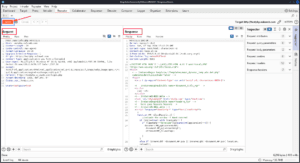
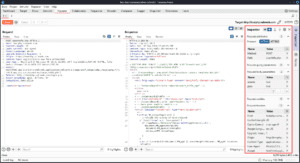
On the right, you have the same Inspector from other tabs which can be used to see information about the request or selected text.
Clicking on the gear next to the Send button opens up the repeater settings for this repeater tab. By default, repeater automatically updates Content-Length, but for attacks like HTTP Request Smuggling where you need to manually manipulate Content-Length, you can disable updating it here. You can also disable BurpSuite automatically unpacking compressed content from responses.
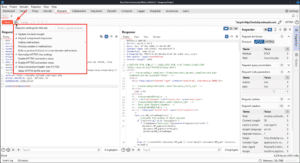
Follow redirections sets the repeater to automatically resubmit requests to the correct location when you receive a redirection, but if you keep this disabled there will be a button to the right of the arrows that allows you to follow the redirection as well. Process cookies in redirections resubmits any cookies set in the redirect response when it follows the redirection target.
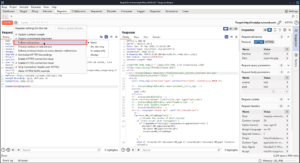
Enforce protocol choice on cross-domain redirections sets repeater to use the protocol selected in the request attributes in the inspector to follow any cross-domain redirects. Normally repeater negotiates protocol automatically.
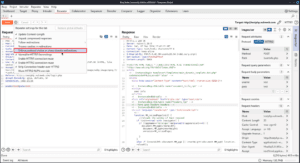
By default, Burp adds a carriage return \r before any newline characters \n. The carriage return line feeds \r\n can be manipulated manually by pressing the \n button on the top right of the request/response section. In the cases where you manipulate these manually, you may want to disable Normalize HTTP/1 line endings for attacks like HTTP Request Smuggling.
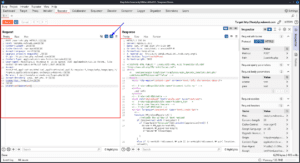
Continuing with the repeater settings, Enable HTTP/1 connection reuse and Enable HTTP/2 connection reuse reuses the same TCP connection for multiple requests, which increases speed. This is on by default for HTTP/2 connections, but disabled for HTTP/1.
By default, BurpSuite strips the Connection header from HTTP/2 requests. The Connection header is only used for HTTP/1, so servers are supposed to refuse HTTP/2 requests that use it and treat the request as malformed, though some servers are more lenient. If you want to keep the Connection header you can disable Strip Connection header over HTTP/2.
Allow HTTP/2 ALPN override can be used to test for hidden HTTP/2 support on servers that claim to only accept HTTP/1
One last thing to remember with the repeater tab is to change the target when you are trying to change the host. Sometimes you want to try the same request on a different host, and it’s important to update the target when you do so.
If you want to change from HTTP/1.1 to HTTP/2 you can do that in the Request attributes section of the inspector on the right.
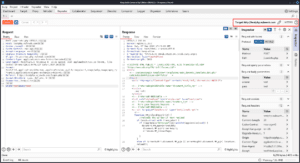
The Burp Suite Repeater Component is a versatile tool that empowers you to manipulate and resend HTTP requests, allowing you to test how your application responds to different inputs. It’s perfect for digging deeper into potential vulnerabilities, fine-tuning your attack methods, and gaining a more thorough understanding of how web applications handle requests.
By mastering Repeater, you’ll add another layer of precision to your security testing toolkit. Its simplicity in use, combined with its powerful features, makes it an essential tool for manual testing.
In our next blog, we’ll take a closer look at Burp Suite’s Intruder Component—a feature designed for automating custom attacks and brute-force testing. Stay tuned as we explore how Intruder can help you take your testing to the next level.
Thank you for reading, and as always, happy testing!


